

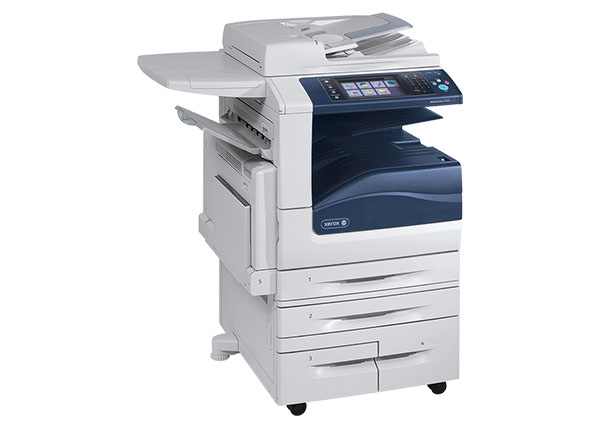
How to Replace ITB Belt of Xerox WorkCentre 7525 and other models.
If you're unsure how to replace the ITB belt for Xerox WorkCentre 7525 and other models, you've come to the right place! We'll show you step-by-step how to do this necessary maintenance to keep your unit running smoothly and keep your machine in top shape.
The following tutorial is for these models:
- Xerox WorkCentre 7525, 7530, 7535, 7545, 7556
- Xerox WorkCentre 7830, 7835, 7845, 7855
When do you need to change your transfer belt?
Your unit will produce an efficient printing experience by replacing your transfer belt if you experience errors like:
- Error 394.324 - Belt home fail too long
- Transfer belt ripping
- Minor scratches on the images
Changing the ITB Belt step-by-step
Prior to starting, it is imperative to remember power off the device and disconnect from its power source at the back.
Don't let an overused belt assembly affect the printing quality on your Xerox WorkCentre. We’ll give you an easy-to-follow tutorial on how to replace the transfer belt for your Xerox device! Lets get started!
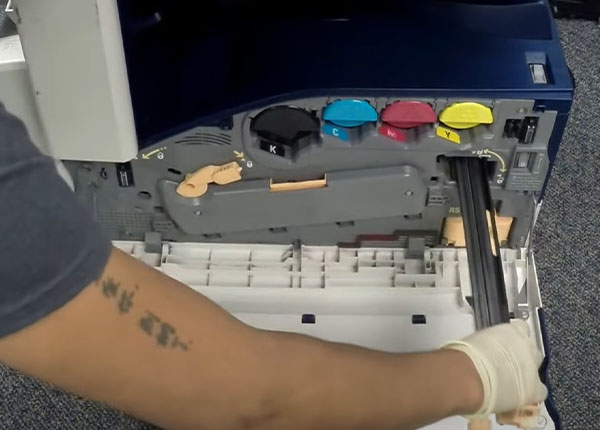
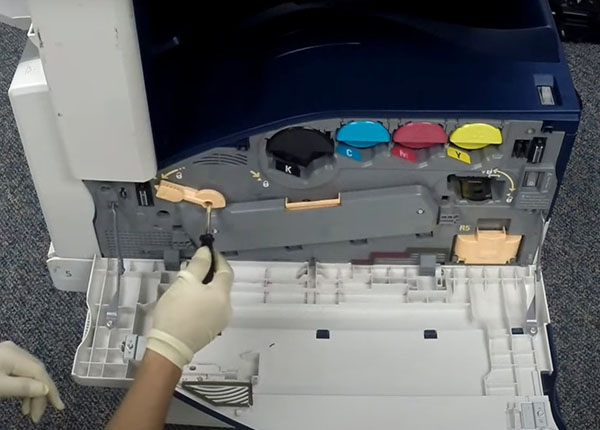
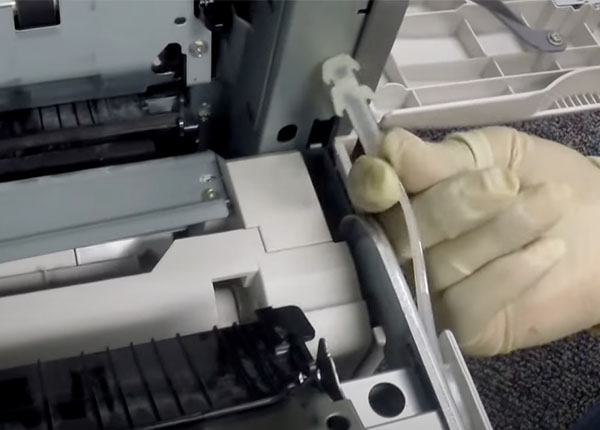
Step One: Remove the ITB Belt Cleaner Assembly
To start, we'll open the front door. Next, we'll proceed by detaching the ITB belt cleaner assembly. Begin by rotating the lever of the ITB belt cleaner assembly in a clockwise direction, followed by turning the knob counterclockwise until it loosens. Finally, gently pull the ITB cleaner assembly towards the front to remove it.

Step Two: Remove the ITB Belt Assembly Tension Lever
Next, we will proceed with the removal of the ITB (Intermediate Transfer Belt) assembly tension lever. Make sure that the lever is in the unlocked position; the screw should be positioned on the inside of the lever. Then, turn the machine to the left side and open the left door. Next, we will remove the fuser. There are two screws, one on the right and one on the left-hand door, that need to be unscrewed. Once the fuser screws are off, remove the left-hand door support strap. Simply detach the C-clip and pull the strap off. Finally, remove the right door stopper. Push the door up, rotate it 90 degrees, and then pull it out.
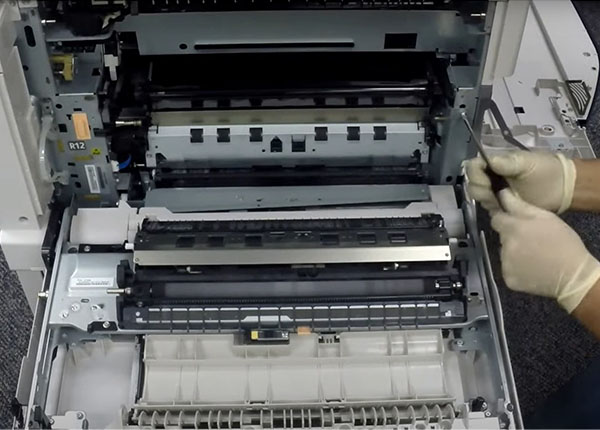
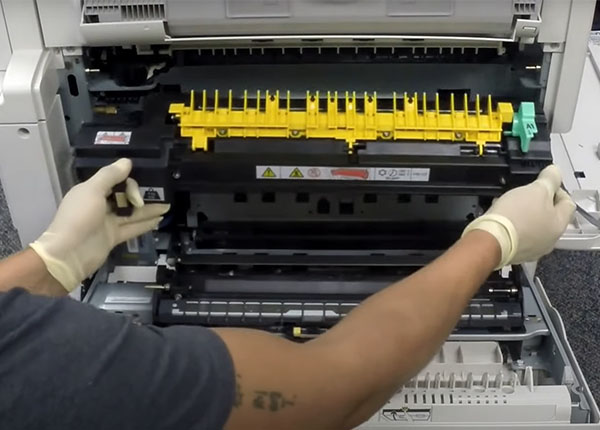
Step Three: Remove the ITB Lock Brackets
We will now proceed with the removal of the ITB frame lock brackets. Take note of the position of the two lock brackets. Next, locate the gray stopper lever latch situated on the left side of the belt. Pull it to release the latch. Finally, you can begin sliding out the ITB belt by using the two plastic brackets and continue with the handles. If necessary, lift the ITB belt upwards during this step.
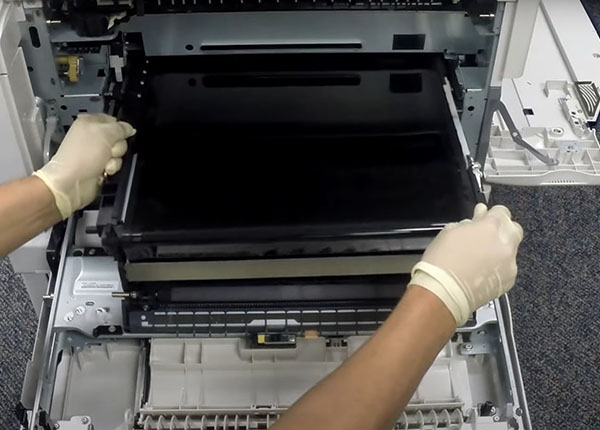
Step Four: Install the new ITB Belt Assembly
Now, we will proceed with the installation of the new ITB belt assembly. Begin by sliding the front of the belt onto the plastic rails (you may need to lift the back of the belt slightly). Push the belt all the way to the back until you feel it reach the locking position. Once in position, push in the stop lever lock to secure the belt firmly. Now, we’ll proceed with the installation of the ITB frame lock brackets, ensuring that they are properly locked in place.
Step Five: Install the Right Door Stopper
Lift the door slightly, then rotate the stopper 90 degrees and insert it into the designated slot. Next, insert the left-hand support strap by simply placing the strap into the metal bracket and reinstalling the C-clip securely in place.
Step Six: Install the Fuser of the ITB Belt Assembly
Next, we will reinstall the fuser. Attach it firmly using two screws, one on the left and one on the right – and make sure to tighten them securely. Once done, close the left cover assembly. Now, let's reposition the ITB belt tension lever. Ensure that it is in the unlocked position, then insert the screw in the middle and fasten it securely to lock it in place.
Step Seven: Place back the ITB Belt Cleaner
To begin, insert the belt cleaner securely, ensuring it’s tightly screwed in place. Once that’s done, gently lower the latch into position. Finally, complete the process by closing the front door. Congratulations, your task is now done!
Order Your Replacement Parts Today!
It's fast and easy to order replacement parts for your Xerox WorkCentre, such as transfer belt cleaners, or ITB Belt Assembly. Our staff is here to help ensure you find the part you need.
- 064K93635, 064K93637, 064K93638, 064K93639, 604K57380, 604K57381, 604K57382, 604K57383, 604K57384, 604K57385, 604K57386, 604K57387, 604K57388, 604K57389, 607K31220, 622S01514 - Xerox Intermediate Transfer Belt Assembly
- 001R00613, 042K94470, 042K94471, 042K94472, 042K94473, 042K94474, 042K94601, 042K94850, 042K94851, 042K94852, 042K94884, 108R01036 - Xerox Intermediate Transfer Belt Cleaner Assembly
Follow Us on YouTube for More Tutorials
Thank you for completing this step-by-step tutorial! We hope you found it useful. Remember to stay connected with us by following our YouTube channel and subscribing for more important content. We would love to hear from you, so please leave a comment.
Click here to view Item, Inc. YouTube channel.
Need More Help?
If you need more assistance, contact us. For sales, repair, or unsure about a part, call us, use our chat feature, or email us. We're here to help in any way!